Taking a break from EULA enforcement and server monetise, I’ve decided to write up a list of the tools that I think are essential for building and showcasing something epic in Minecraft. The list is largely based upon tools that I use, so if you have any others that you prefer, let me know in the comments below!
Build Server & Plugins
While Creative Mode lets you build things with infinite blocks, it can be tiring to place thousands of them. Therefore, I prefer to use a server and a number of plugins to help me do that. If your computer is powerful enough, you can run a local server. However, if you’re playing on a laptop or less powerful machine, you might want to consider a Minecraft Server Host. I’d suggest getting at least 2 or 3GB of RAM, even if you’re the only player, as some of the plugins I’m about to mention can use a lot.
If you don’t want to go through the hassle of setting everything up yourself, and need Server Host, Gearcraft is partnered with AnvilNode, and you can use the promocode “Gear15” to get 15% off your first order. However, setting everything up can be rewarding (once it works).
Spigot
Spigot is an improved version of CraftBukkit, which is an improved version of the vanilla Minecraft server. Spigot lets you run plugins, and has much better performance. Most server hosts will come with the ability to run it on your server, and if you want to run a local server, you can download and compile Spigot from here.
Once Spigot is set up, you can move onto the plugins to help you with building.
WorldEdit
WorldEdit is the tool you’ll probably end up using the most. It’s an in-game world editor that lets you change thousands of blocks at once, if you want. More practically, I use it for creating large structures such as walls, and for replacing blocks to test out different colour schemes of builds. It’s also useful for copying and pasting sections of builds, filling large areas with lava/water and generating objects based on mathematical functions. Finally, it makes creating circles and cylinders easy. There’s also a brush system for sculpting the world, although there’s another plugin on the list that I think does this better.
WorldEdit can be found here, and the wiki contains a lot of documentation on how to use the plugin to its fullest. There are a lot of features to learn, but once you begin to master it, WorldEdit is amazing.
Build Commands
Build Commands is a toolkit that builds upon WorldEdit’s scripting capabilities to give you 30 extra tools that make building cool things a bit easier. These include a number of tree generation brushes, a vine brush (that lets you use any block) and a number of other things. I mention the tree & vine brushes specifically because they are the two that I use the most, and you can see how well the work if you look at Caelum Silva, where I used them to make all the trees and hanging leaves.
Build Commands can be downloaded from InHaze.net
VoxelSniper/VoxelGunsmith
VoxelSniper is an old plugin that goes back to at least 2011, and was created by The Voxel Box team, who used to (and probably still do) make epic custom maps. It appears as though the latest
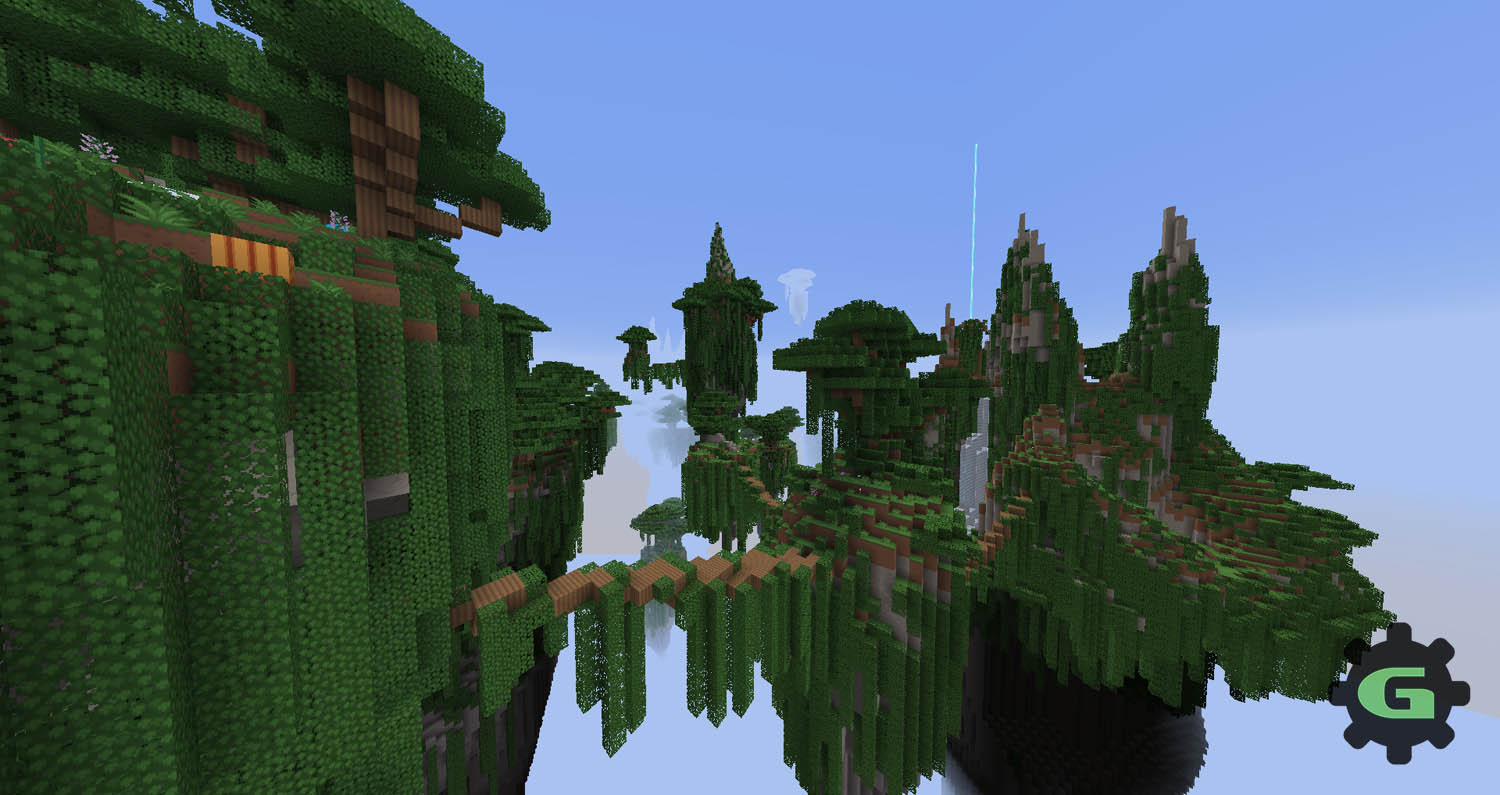
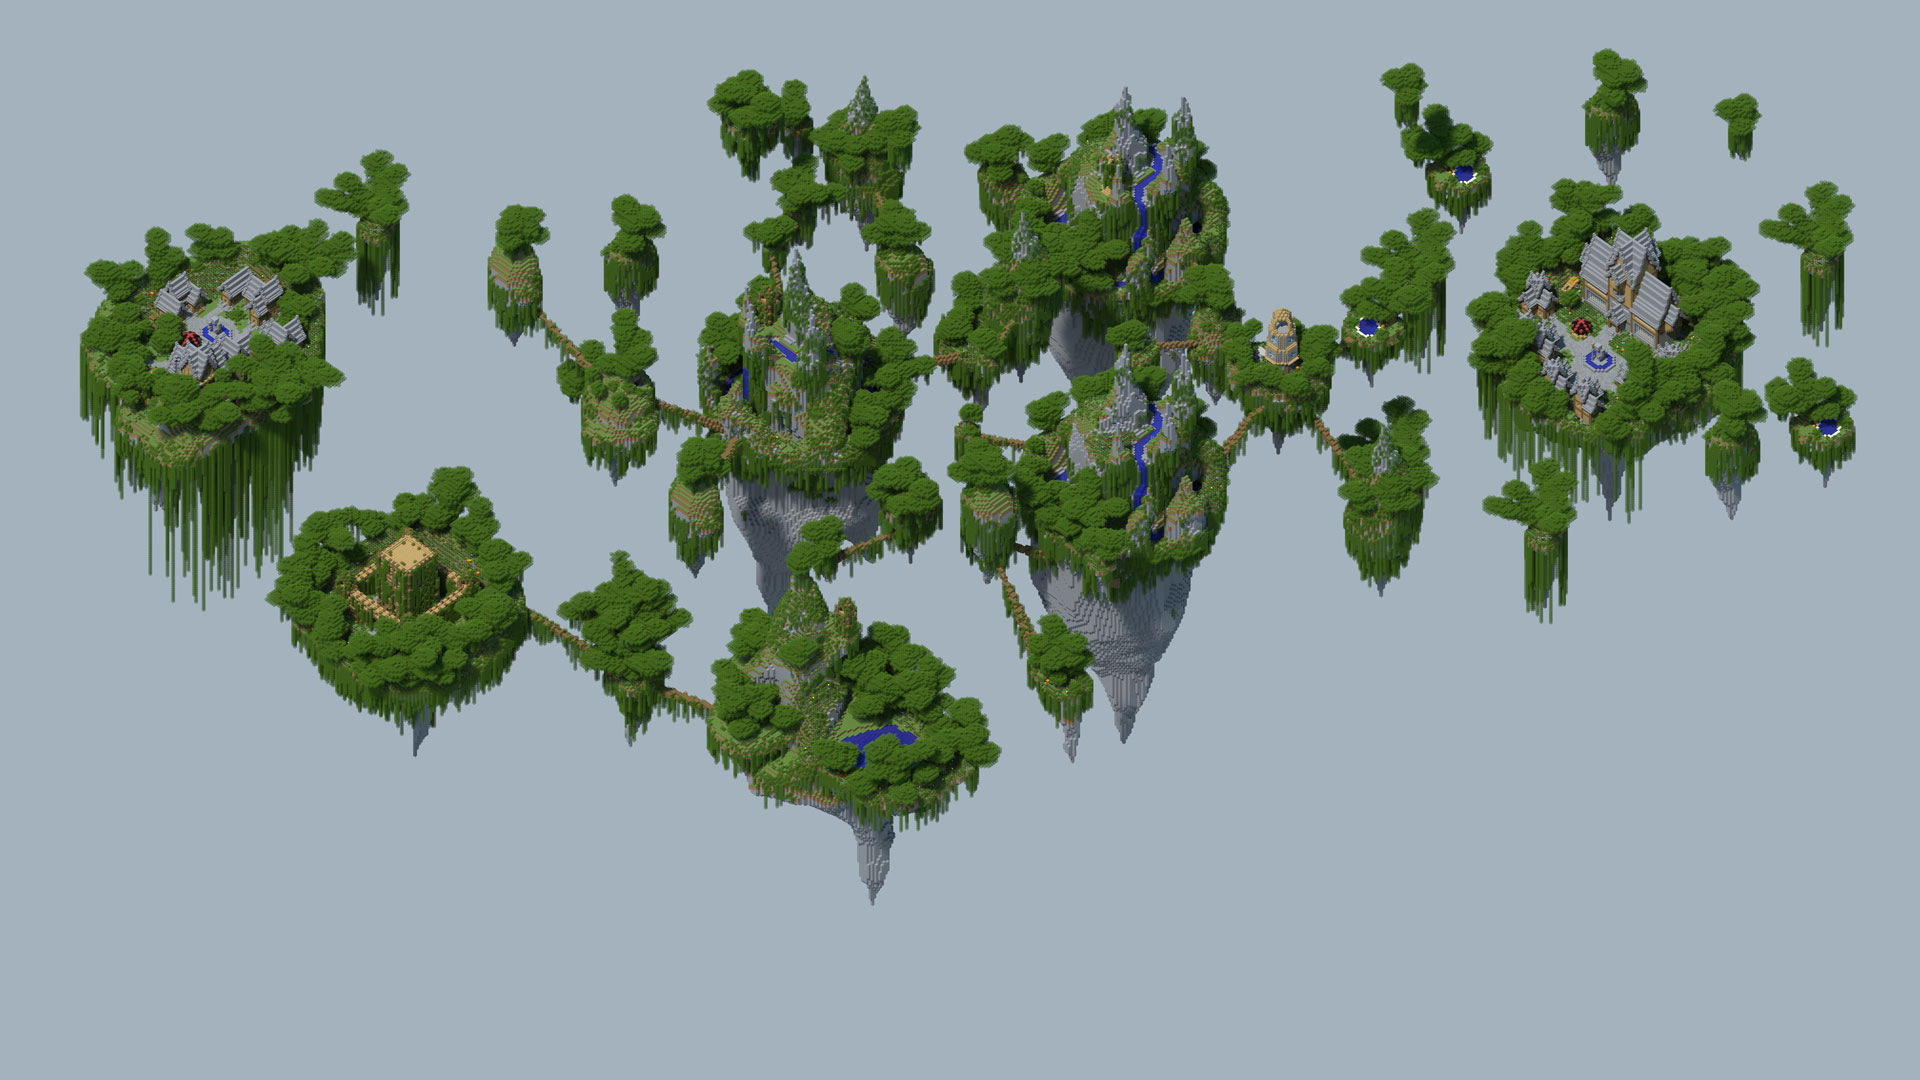
Floating Islands make with VoxelSniper
version is now called “VoxelGunsmith”, although both names are used in the documentation. VoxelGunsmith gives you access to a number of “brushes” that let you generate and sculpt terrain. This is the plugin I used to create the floating islands of Caelum Silva, and carve out a lot of Ilgoth’s caves. The brushes include shapes(balls, voxels, discs and squares) erosion (smooth, fill and melt), and the really useful overlay brush, which lets you replace a layer of blocks with another (hugely useful for putting a layer of grass over everything).
VoxelGunsmith can be downloaded from its GitHub page.
Multiworld
When you have a build server, the ability to have different worlds for different projects is amazing. It means that you can separate things, and also have a “mess around and wreck things” world, without affecting anything else. There are a number of multi-world plugins, however my favourite is Multiworld, due to its simplicity.
You can download Multiworld from it’s dev.bukkit.org project page.
External Programs | Building Stage
So, you’ve got a server set up with some hugely useful plugins. Now, here are a couple more programs that can be used for making epic things. I’ve specifically noted this as the building stage, since I’m planning to come back to programs later, but want to mention some mods in the middle.
WorldPainter
WorldPainter is a program that lets you literally paint terrain, and then export it as a Minecraft world. It’s insanely cool for making custom terrain, and we’ve featured a number of worlds created by it before. I haven’t actually used WorldPainter in a couple of years, but it’s still a useful tool if you want to make a large amount of terrain.
You can download WorldPainter from it’s website.
MCEdit
MCEdit is kind of like WorldEdit, but not in Minecraft. While this might seem like a disadvantage at first, it actually works out being quit useful in some situations, especially as it gives you more control over your selection. It’s useful for replacing blocks or creating huge chunks of land. There is a brush system, although I prefer VoxelSniper’s brushes, so haven’t had much use for WorldEdit’s system. Another important feature of MCEdit is filters. These are python scripts that can be used to do basically anything. Minecrafters such as abrightmore and SethBling have created filters to do everything from randomly replacing blocks to procedurally generating an armada of tall ships.
MCEdit can be downloaded from mcedit.net
Showcasing Time
So you’ve built something epic. It’s taken you ages, and now you want to show it off to everyone and prove to them what an awesome builder you are. There are a number of tools you can use to make showcasing your build even better. I’ve split this into a couple of sections – Minecraft Mods and External Programs.
Minecraft Mods
Shaders
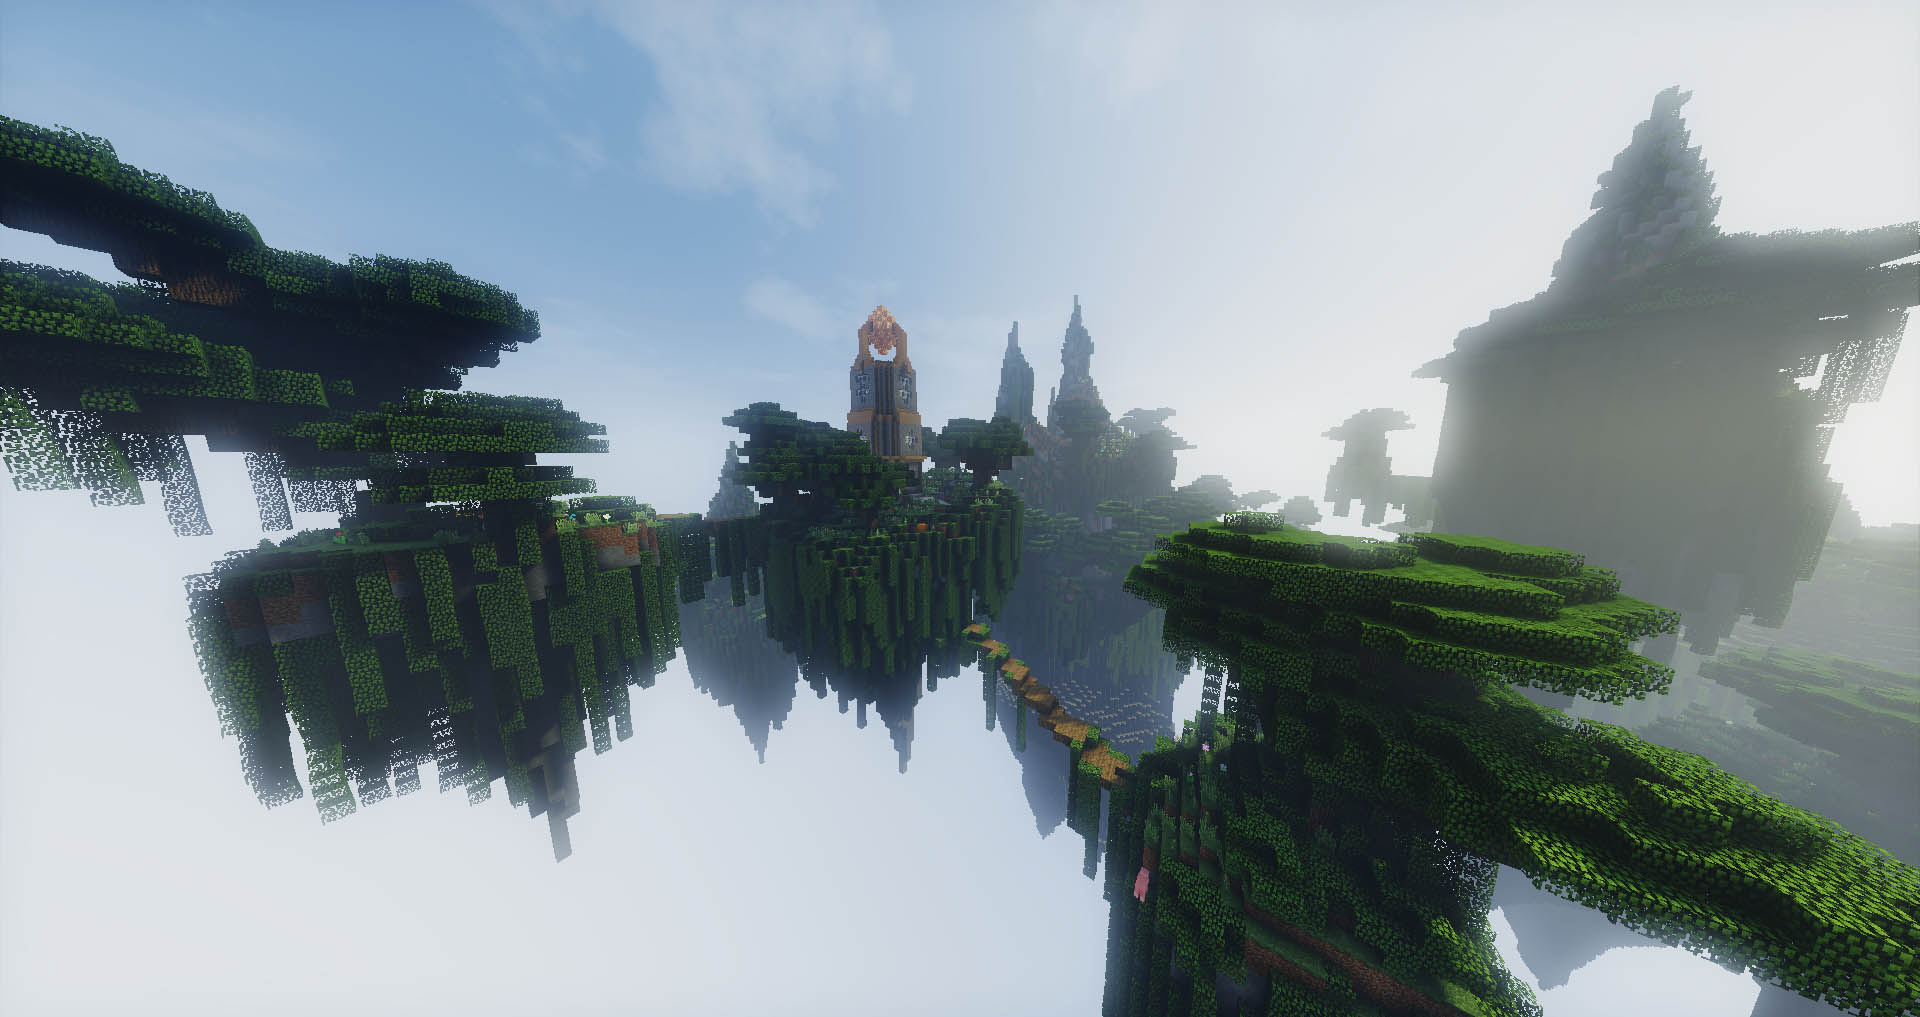
If your computer can handle it, give Minecraft’s lighting and visuals an overhaul with shaders. While these are resource intensive, they can make your build look stunning.
There are two parts to Minecraft shaders. Firstly, you’ll need the Shaders Mod, which was recently integrated into Optifine. You can get Optifine from Optifine.net. As an aside, Optifine can greatly improve your performance, and is probably worth installing anyway.
An example of Shaders from a recent build of mine.
The second part is a shaderpack. There are lots of different shaderpacks, each with their own style and aesthetic. I recently made a comparison video, which you should check out. In it, I show off five of the most popular shaderpacks, which are as follows:
- Sildurs Vibrant Extreme
- SEUS v10.1 Ultra DoF
- Mr Meepz v05 Ultra DoF
- Continuum 1.1 Ultra DoF
- Chocapic Extreme
An important note about shaders: If you overuse them, it reduces the effect. Your build also has to look fairly impressive without them for the effect to work properly. However, they’re a great way to improve the presentation of a cool build.
PixelCam
Since the discontinuation of Sushen’s Camera Studio Mod a couple of years ago, CrushedPixel’s PixelCam has taken over as the de facto camera mod of choice. It lets you create smooth camera paths between points, and then move a player along that path. This is hugely useful for creating cinematic trailers. Unfortunately, PixelCam does not record the camera paths, which means you have to use an external program such as Fraps.
You can download PixelCam from CrushedPixel’s website.
External Programs | Showcase Stage
Now that we’ve got mods out of the way, it’s time for a mixed bag of programs that you can use to show off your build. This list ranges from free to expensive, and you don’t need everything on it. It’s probably best described as a summary of what I use, or have used in the past.
Chunky
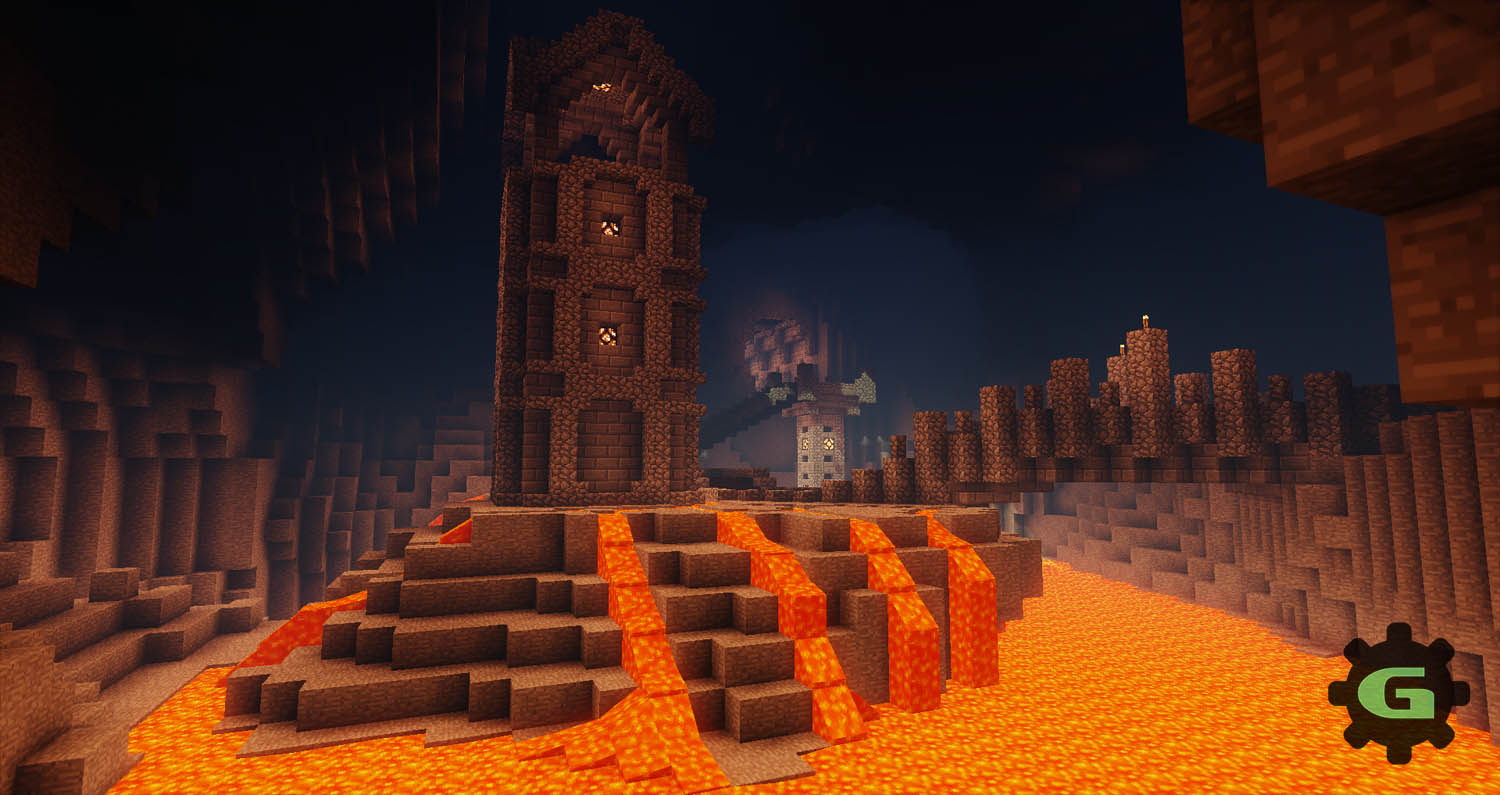
A Chunky Render of Caelum Silva
Chunky is a Minecraft mapping/rendering tool that lets you create awesome renders of your builds from any camera angle, and with all kinds of lighting options. It requires a fairly powerful computer and a lot of time, but it can produce fantastic results. It’s also free, which is a huge bonus. Once you get your head around the interface, Chunky is a powerful program that can make yoru builds look great.
Chunky can be downloaded from its website
Adobe Creative Suite
If you want to create trailers, or even just improve your screenshots with colour correction similar adjustements, the Adobe Creative Suite is a great option. However, it does have a price tag attached. If you’re a student, you can get a discounted rate, otherwise this might be a pricy solution for showing off Minecraft builds.
If creative work is something you want to make a career out of, or you want to take Minecraft videos to the next level, this might be a worthwhile investment. Otherwise, the next item on the list might be a bit better.
Do I even need to link this? Here’s a link to Adobe’s website anyway.
Windows Movie Maker
This is a serious entry onto the list, I swear. I started making Minecraft videos in Windows Movie Maker, more than 4.5 years ago. If you don’t have the money to pay for the Adobe Creative Suite, or don’t plan to make a career out of building things, Windows Movie Maker is a viable alternative. The most recent version is actually fairly good as video editing software goes, and allows you to make videos and put them up on Youtube without spending a lot of money.
A Note on Music
If you’re making a cinematic trailer, a really important part of that is music. If you’ve followed me on twitter for long enough, you’ve probably seen me talking about how long I spend trying to find the ‘perfect’ piece of music for whatever I’m making at the time. This article isn’t big enough to get into a discussion on how to put a trailer to music (besides, that’s an art I’m still working to master). However, here’s a list of where I get most of my music from
A quick note on licensing. For you to use music in your videos, you need permission/a license to do this. Normally, music is copyrighted by the creator, and therefore you can’t use it. However, there are licenses that musicians can put on their work that let people use them. The Creative Commons By Attribution license is the best for this situation, as it allows you to use music for commercial purposes (i.e monetising videos), provided that you attribute (credit) the creator. (It’s important to check that you get the Commercial license, not the non-commercial version). You can read an explanation of the different Creative Commons licenses and what they mean here. The gist of it however, is that CC by 3.0 and CC by 4.0 (Creative Commons by Attribution 3.0/4.0) are the ones to look for. All the music linked above is available under one of these licenses.
Building and Showcasing Something Epic in Minecraft
Now that you’ve read this list, it’s time to go out and build something for yourself! Building can be a hugely rewarding way to play Minecraft, and the game makes a great canvas to create anything you want, whether that be floating islands, houses or massive steampunk cities. If you make something, be sure to share it with us on Twitter!